Pavel Rykov
November 16, 2022 ・ Basics
How To Install PMM Using Linode
MM server. In this article, we will describe a solution based on a Linode VPS on which we will install the Docker Engine and run the PMM server in a Docker container. Linode, which is a blend of the words Linux and node, is a cloud hosting provider of Linux-based virtual private servers. Linode makes virtual computing more simple, affordable, and accessible.
How to Install PMM
These are the requirements you’ll need to begin:
-
Registered account on the Linode Cloud platform
-
Any SSH client
-
Any web browser with enabled JavaScript support
Creating Linode Instance
Login to Linode Cloud console.
https://cloud.linode.com/linodes
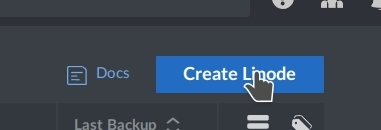
Click the “Create Linode” button on the top-right side of the page.
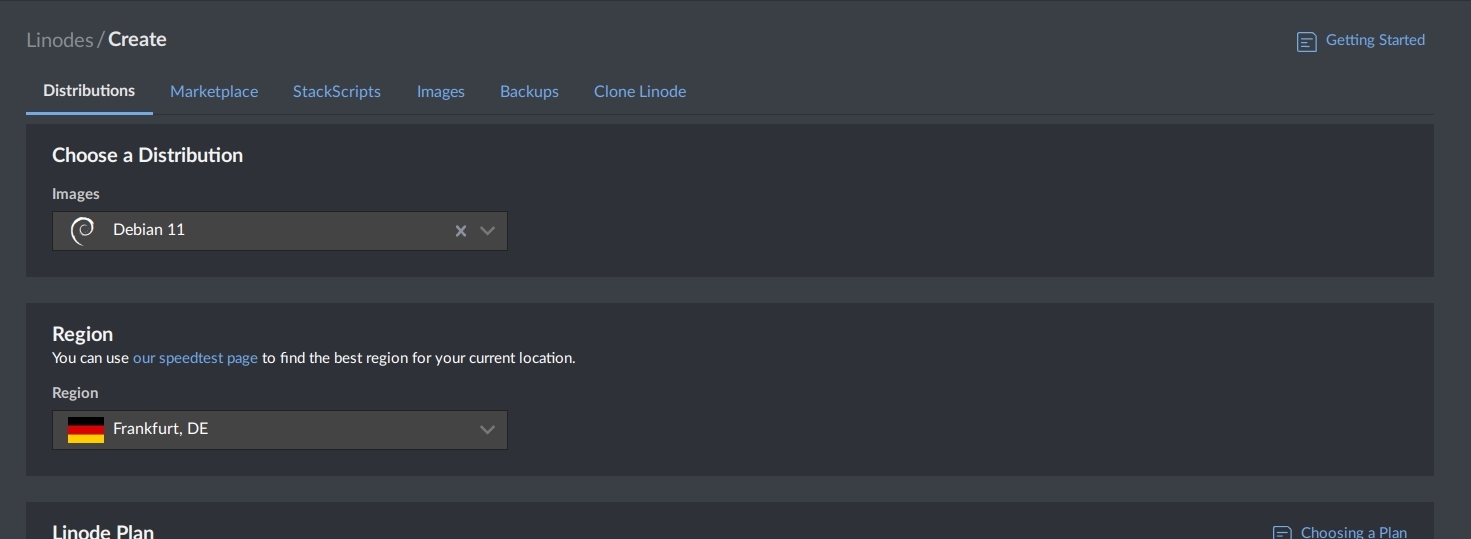
Choose distribution and region.
Choose type or VPS.
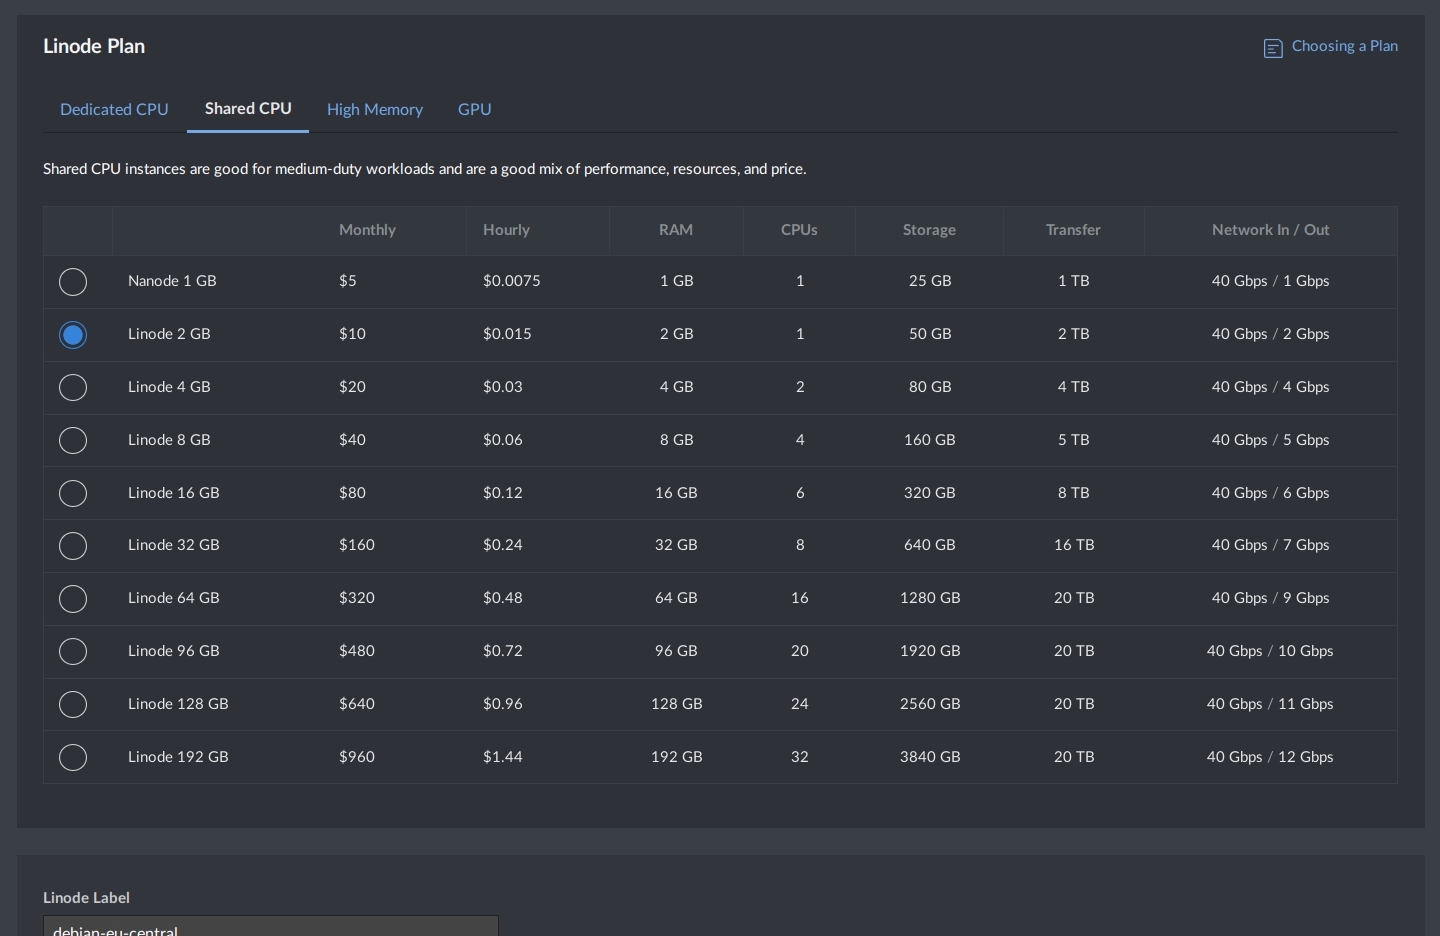
Set a custom name for the Linode instance, for example, PMM-demo.

Type the root password, and add SSH Keys of allowed users.
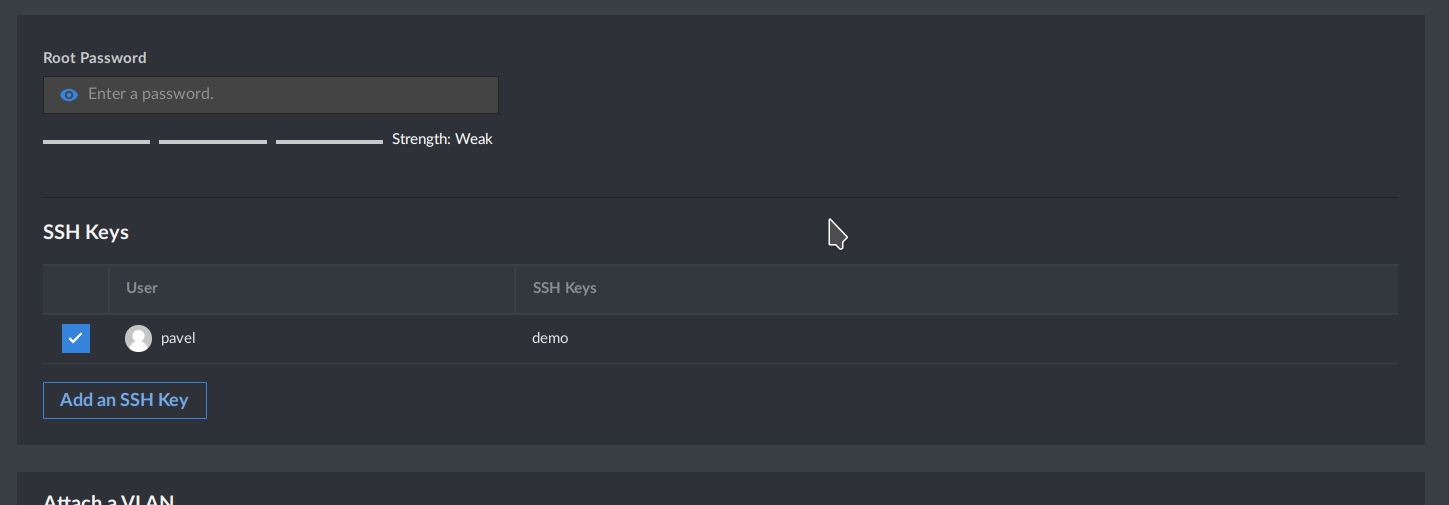
Other settings are optional, so if you don’t need them, then you may ignore them.
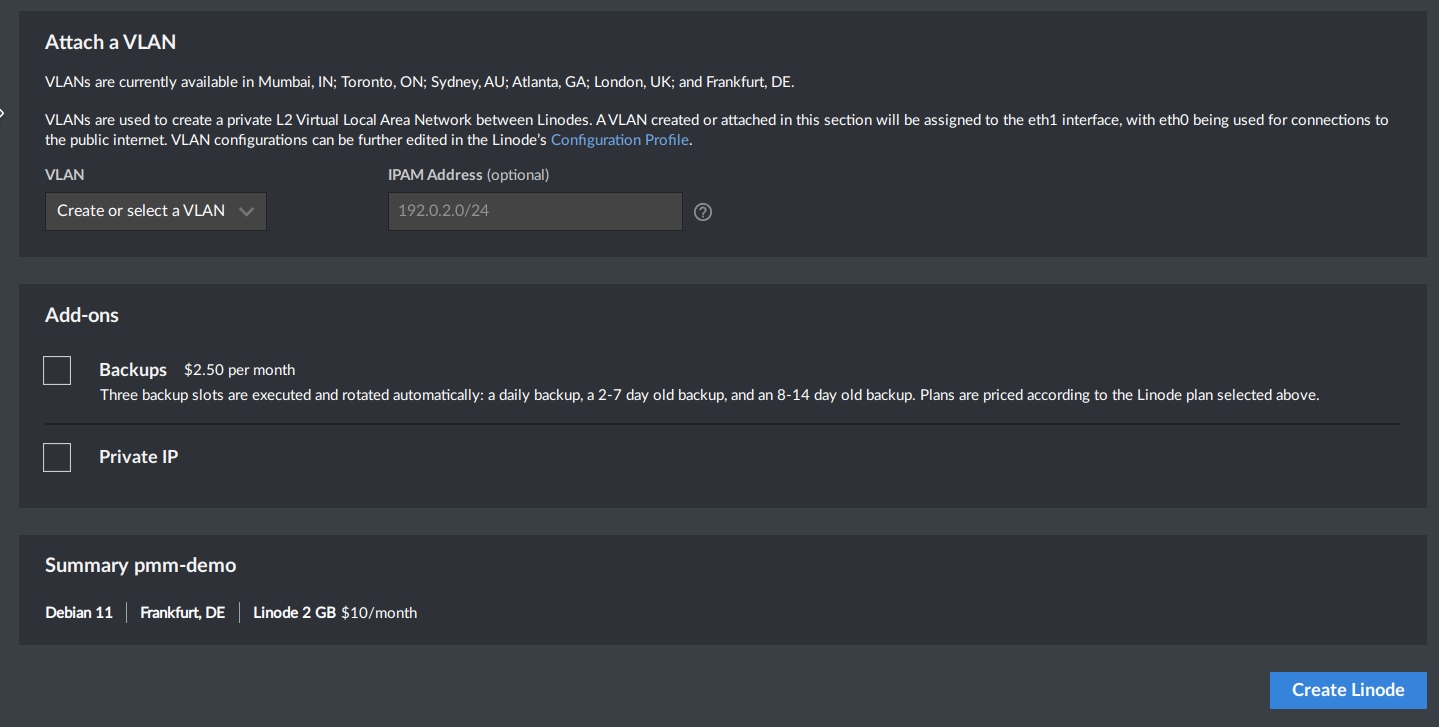
Click the “Create Linode” button.
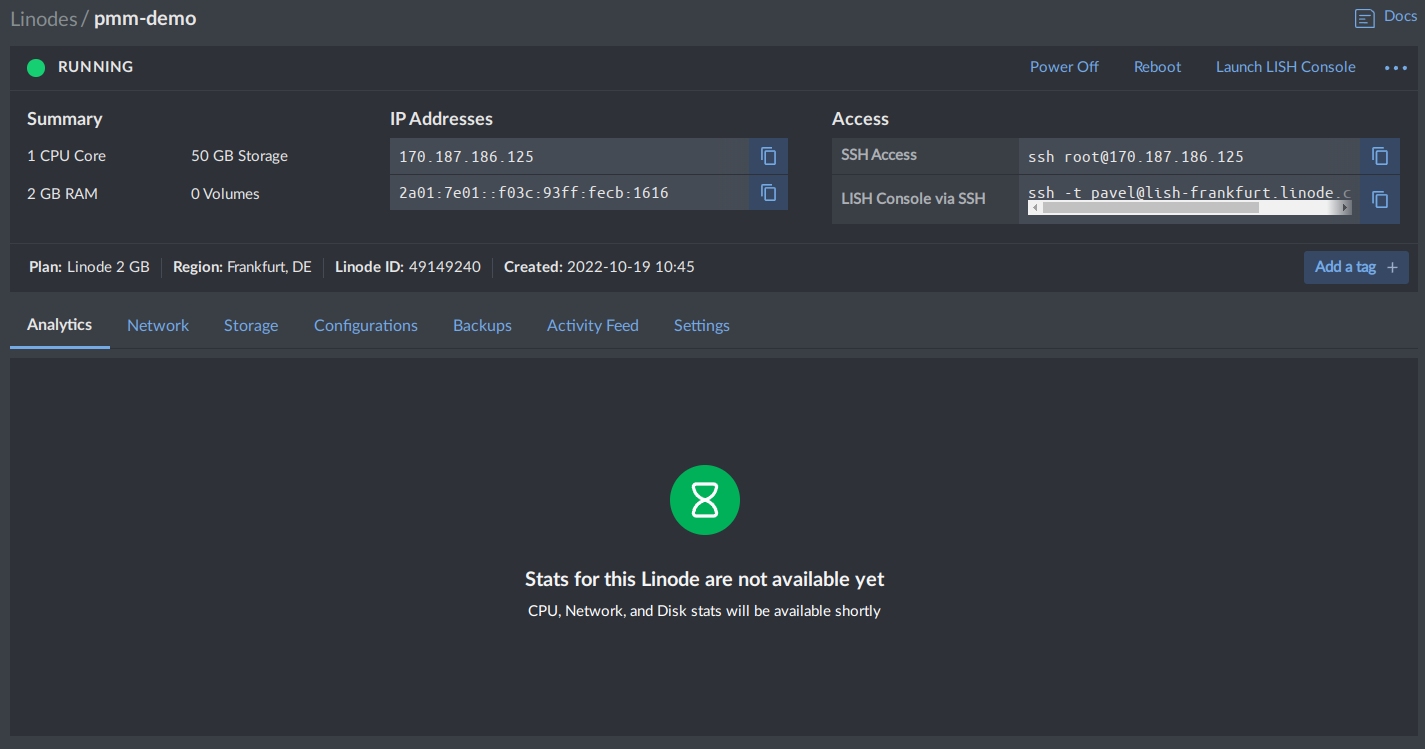
Wait some time until the VM will be created and Provisioning status changes to Running.
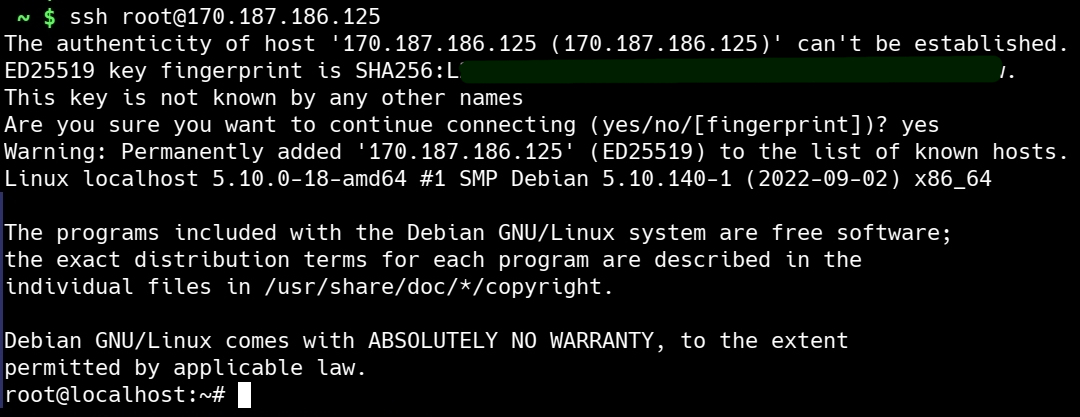
After starting the virtual machine, we can connect to it via SSH.
Installing Docker Engine
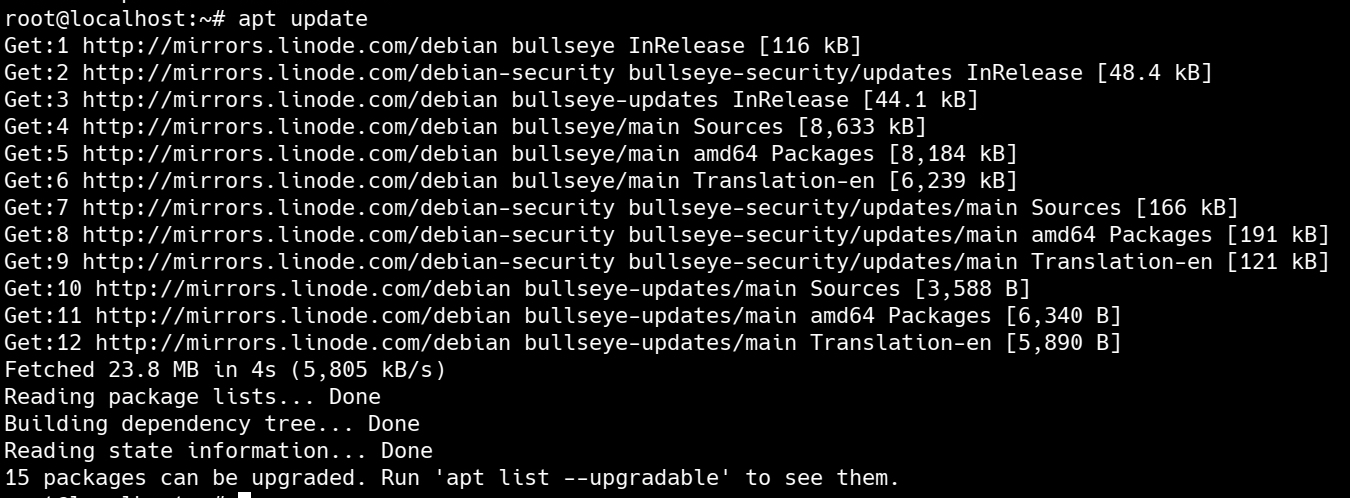
First of all, let’s update the packages list:
apt update
Then install the necessary packages:
apt install ca-certificates curl gnupg lsb-release
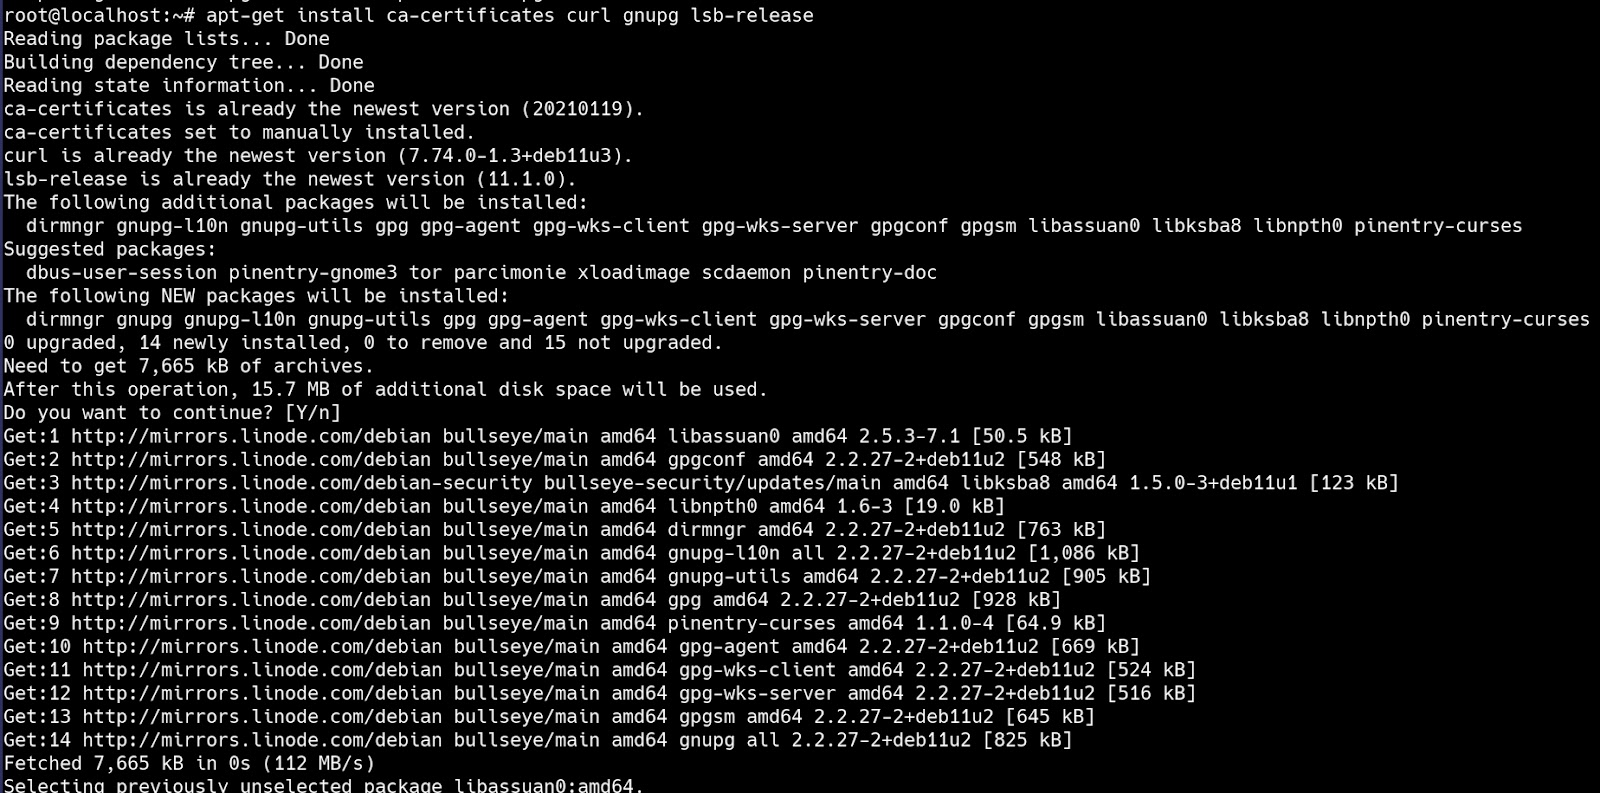
Wait some time until the installation process is complete.
Now let’s add the GPG key that signed the packages from the repository:
curl -fsSL https://download.docker.com/linux/debian/gpg | sudo gpg --dearmor -o /usr/share/keyrings/docker-archive-keyring.gpg
Then you need to add the repository configuration:
echo "deb [arch=$(dpkg --print-architecture) signed-by=/usr/share/keyrings/docker-archive-keyring.gpg] https://download.docker.com/linux/debian $(lsb_release -cs) stable" | sudo tee /etc/apt/sources.list.d/docker.list > /dev/null
Update the packages list again:
apt update
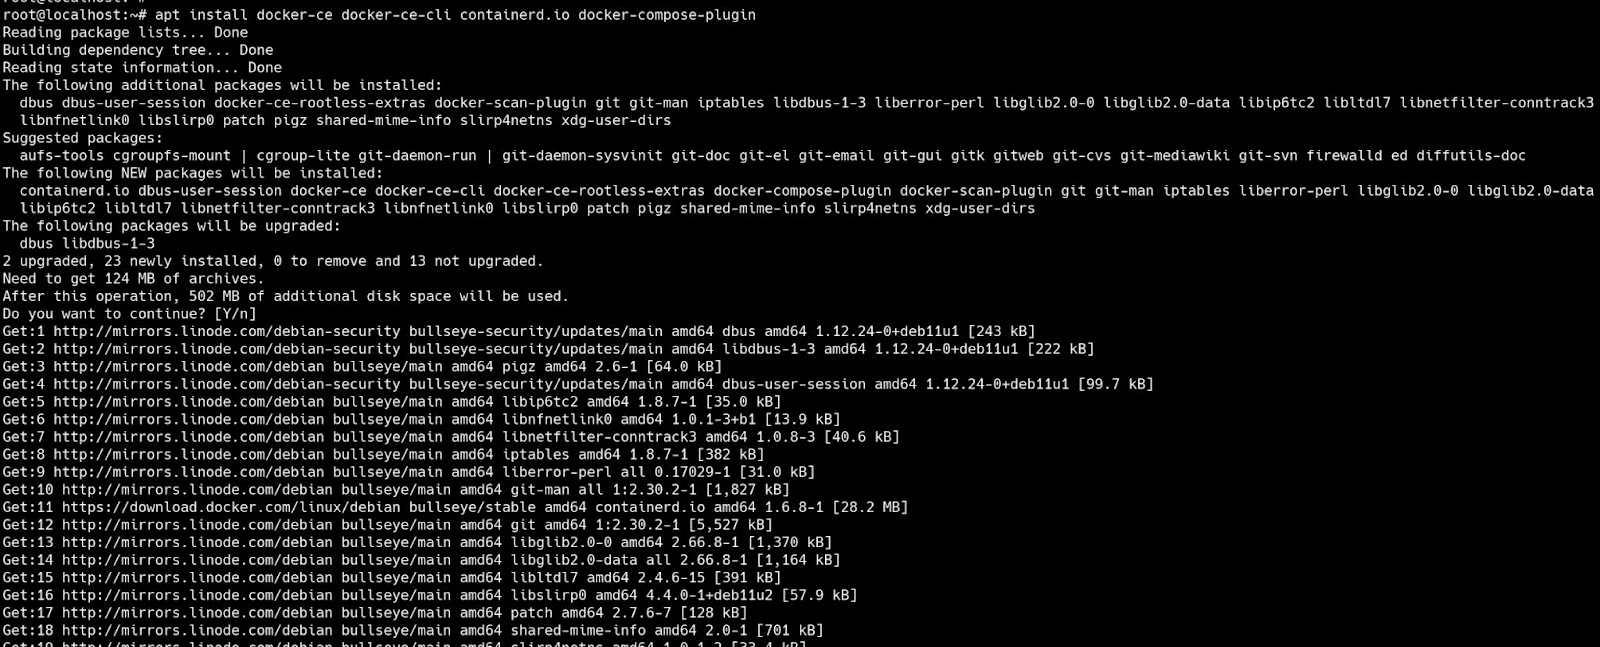
Install Docker Engine:
apt install docker-ce docker-ce-cli containerd.io docker-compose-plugin
Installing PMM Server
Pull image from Docker Hub
Most likely you have not yet downloaded the PMM-server image, so download it using the following command:
docker pull percona/pmm-server:2

Create persistent volume
The PMM server stores the collected data in databases integrated into the image (not the best practice, but it seemed more convenient to the authors of the image). I’m sure you don’t want to lose this collected data when updating the server, so you need to create a persistent volume, let’s call it PMM-data.
docker volume create pmm-data

Run PMM server in container with persistent volume
Now you can safely launch the container with the PMM server and proceed with its direct configuration.
docker run --detach --restart always \
  --publish 443:443 \
  -v pmm-data:/srv \
  --name pmm-server \
  percona/pmm-server:2

Check the status of running the PMM server
Let’s check the status of the PMM server – it should be fine, but just in case.
docker ps

Reset admin password
Now let’s change the password of the admin user to “new_pass”.
docker exec -t pmm-server bash -c 'grafana-cli --homepath /usr/share/grafana --configOverrides cfg:default.paths.data=/srv/grafana admin reset-admin-password new_pass'

Change admin email (optional)
For right now, it’s not possible to change the email of the admin user via PMM CLI, but you can do it via a simple API call. First, you need to generate a Bearer Token, which can be created from login/password pair with the help of base64 decoder:
echo -n "admin:new_pass" | base64

Execute a simple cURL request:
curl --location --request PUT "https://127.0.0.1/graph/api/users/1" \
  --insecure \
  --header "Accept: application/json" \
  --header "Content-Type: application/json" \
  --header "Authorization: Basic YWRtaW46bmV3X3Bhc3M=" \
  --data "{\"email\":\"ownemail@example.com\",\"login\":\"admin\"}"

Login to the admin panel
Now you can open the PMM server page through a browser.
https://<linode-instance-ip>/graph/login
You will most likely see an error about the self-signed certificate that was auto-generated on the first run of the PMM server. Just ignore this message. For the login/password pair, use the admin and password chosen on the “Reset admin password” step.
Installation Complete
Congratulations, you have successfully installed PMM using Linode. PMM – Percona Monitoring and Management – provides database monitoring and management services and helps streamline your business with convenient cloud computing solutions. PMM simplifies cloud computing and helps optimize databases by allowing you to easily find, fix, and prevent issues with scaling, bottlenecks, and potential outages.
If you want to know how to install PMM, there are many options. Linode offers a great option to install PMM. This PMM installation is based on a Linode VPS on which we install the Docker Engine and run the PMM server in a Docker container. To install PMM using Linode you just need a registered account on the Linode Cloud platform, any SSH client, and any web browser with enabled JavaScript support.
HostedPMM Services
Now that you have installed PMM, you can focus on bigger issues, like growing your business. HostedPMM offers hosted PMM servers for monitoring, automation, troubleshooting, and convenience for all your database needs. We provide servers for PMM as a service to you. You can get your own PMM server, connect your instances, and focus on your project with HostedPMM. Get started for free and say hello to simpler database solutions. We offer a quick setup, backups, scalability, tech support, security updates, high availability, and no vendor restrictions.
If you have any questions or need assistance with HostedPMM, contact us at support@hostedpmm.com for support.
Related Posts: How to set up open-source DB monitoring using PMM?
- Basics