Pavel Rykov
July 31, 2023 ・ Kubernetes
Installing a Simple Kubernetes Cluster Using Vagrant and VirtualBox
In this guide, we will walk you through the steps to create a simple Kubernetes (K8S) cluster using Vagrant and VirtualBox. This setup is suitable for testing and learning purposes.

Prerequisites
Before we start, ensure that you have the following installed on your system:
-
VirtualBox is a general-purpose full virtualizer for x86 hardware that will host our virtual machines (VMs)
-
Vagrant is a tool for building and managing virtual machine environments, which we'll use to setup our VMs
-
Finally, kubectl is a command line tool for controlling Kubernetes clusters
Create a Vagrantfile
A Vagrantfile is a Ruby file used to configure Vagrant on a per-project basis. The main function of the Vagrantfile is to describe the type of machine required for a project, and how to configure and provision these machines.
Create a Vagrantfile with the following content:
Vagrant.configure("2") do |config|
  config.vm.box = "ubuntu/bionic64"

  config.vm.provider "virtualbox" do |v|
    v.memory = 2048
    v.cpus = 2
  end

  config.vm.define "master" do |master|
    master.vm.network "private_network", ip: "192.168.50.10"
    master.vm.hostname = "master"
    master.vm.provision "shell", path: "bootstrap.sh"
  end

  (1..2).each do |i|
    config.vm.define "node-#{i}" do |node|
      node.vm.network "private_network", ip: "192.168.50.#{10 + i}"
      node.vm.hostname = "node-#{i}"
      node.vm.provision "shell", path: "bootstrap.sh"
    end
  end
end
This Vagrantfile will create one master node and two worker nodes, each with 2 GB of RAM and 2 CPU cores. It uses the ubuntu/bionic64 Vagrant box and VirtualBox as the provider.
Create a Bootstrap Script
Create a bootstrap.sh script with the following content:
#!/bin/bash

set -e

echo "Install Docker"
curl -fsSL https://get.docker.com -o get-docker.sh
sh get-docker.sh

echo "Install Kubernetes"
sudo apt-get update
sudo apt-get install -y apt-transport-https curl
curl -s https://packages.cloud.google.com/apt/doc/apt-key.gpg | sudo apt-key add -
echo "deb https://apt.kubernetes.io/ kubernetes-xenial main" | sudo tee -a /etc/apt/sources.list.d/kubernetes.list
sudo apt-get update
sudo apt-get install -y kubelet kubeadm kubectl
sudo apt-mark hold kubelet kubeadm kubectl

echo "Disable swap"
sudo sed -i '/ swap / s/^/#/' /etc/fstab
sudo swapoff -a

echo "Enable CRI plugin in containerd"
sudo sed -i '/disabled_plugins = \["cri"\]/d' /etc/containerd/config.toml
sudo systemctl restart containerd

echo "Done"
This script installs Docker and Kubernetes on each node and disables swap to satisfy the preflight checks for Kubernetes.
Start the Vagrant Environment
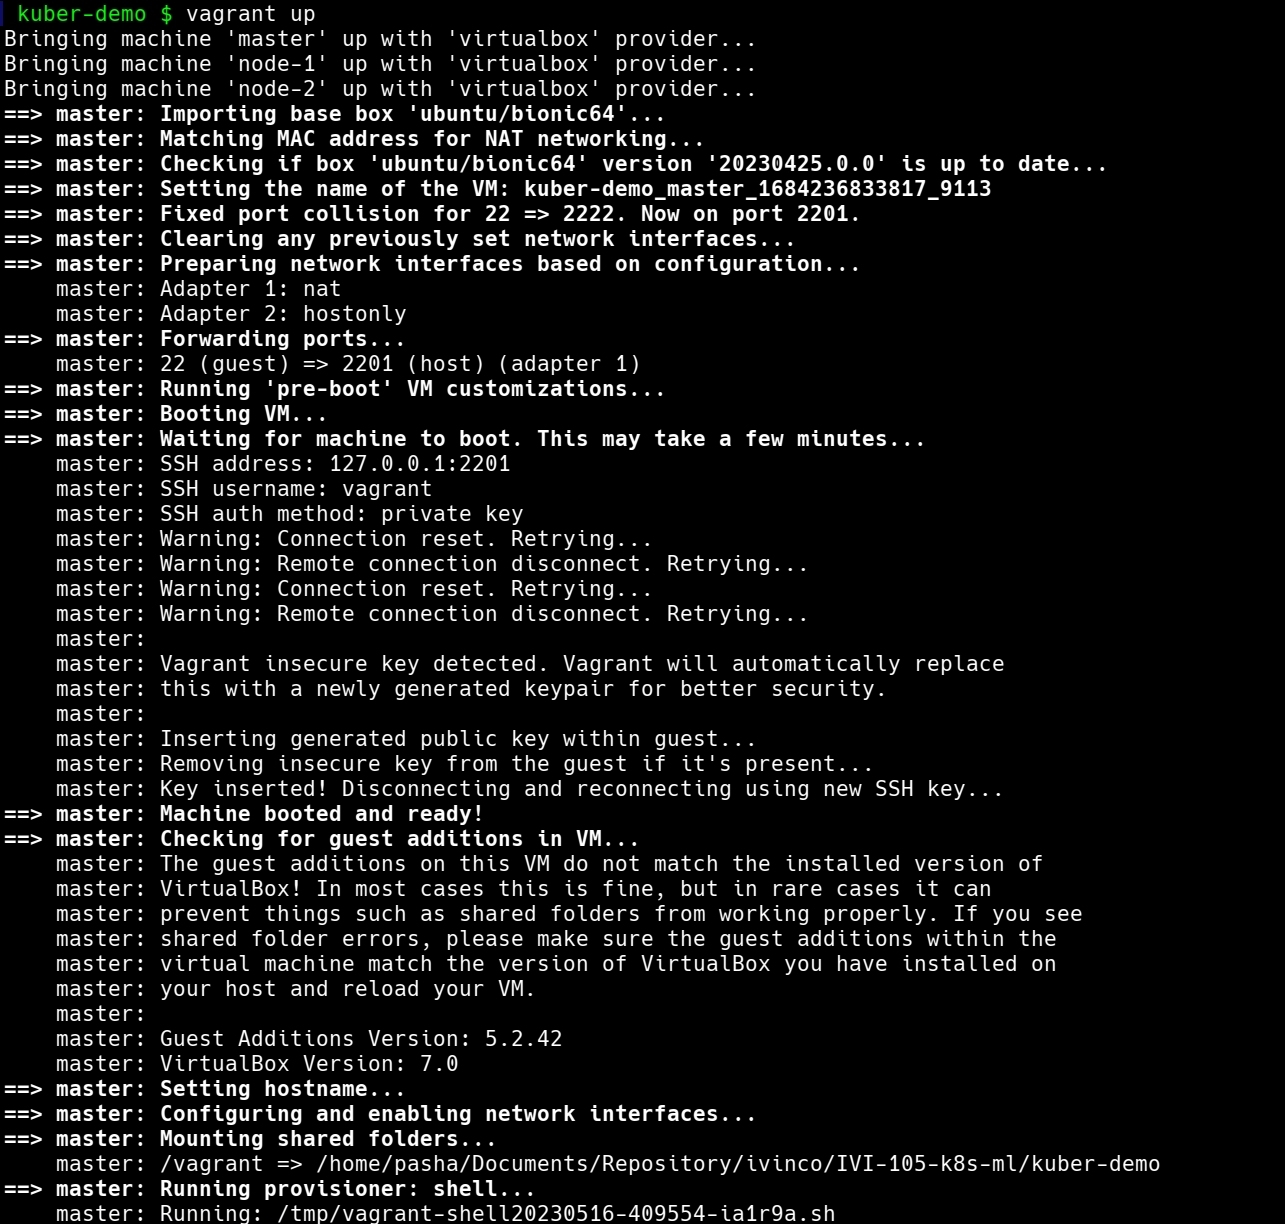
You can now start the Vagrant environment and create the virtual machines:
vagrant up

Initialize the Kubernetes Master Node
SSH into the master node:
vagrant ssh master
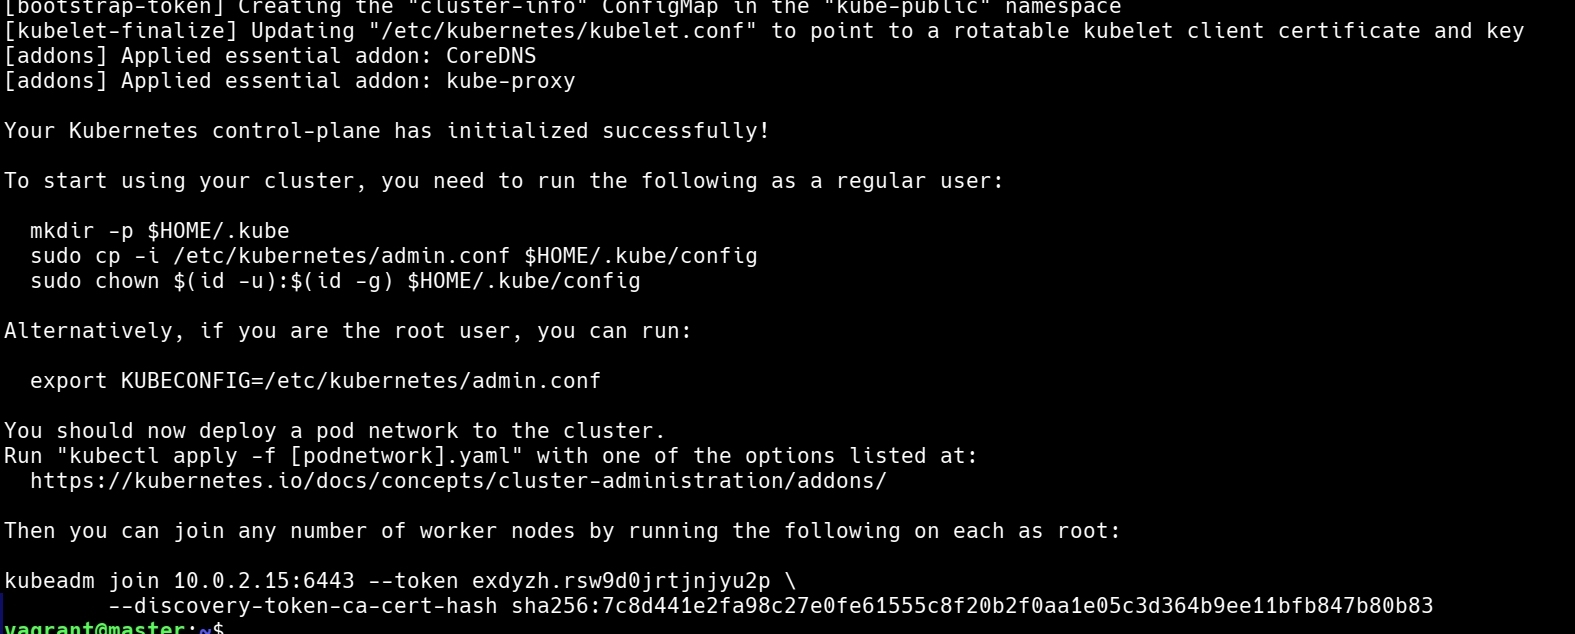
Initialize the master node:
sudo kubeadm init --pod-network-cidr=10.244.0.0/16 --apiserver-advertise-address=192.168.56.10

Join the Worker Nodes to the Cluster
After initializing the master node, you'll receive a kubeadm join command with a token and a hash. It will look something like this:
sudo kubeadm join 192.168.56.10:6443 --token <token> --discovery-token-ca-cert-hash sha256:<hash>
First, exit from the master node:
exit
Connect to each worker node via SSH and execute the kubeadm join command.
vagrant ssh node-1
sudo kubeadm join 192.168.56.10:6443 --token <token> --discovery-token-ca-cert-hash sha256:<hash>
exit

Repeat this for the second node:
vagrant ssh node-2
sudo kubeadm join 192.168.56.10:6443 --token <token> --discovery-token-ca-cert-hash sha256:<hash>
exit
Verify the Cluster
Finally, verify that all nodes have joined the cluster. SSH back into the master node:
vagrant ssh master
Then you should copy connection settings to your home folder:
sudo cp /etc/kubernetes/admin.conf $HOME/
sudo chown $(id -u):$(id -g) $HOME/admin.conf
export KUBECONFIG=$HOME/admin.conf
Need, need add the export command to your shell profile (such as ~/.bashrc or ~/.bash_profile), so it gets set every time you open a new terminal session.
echo "export KUBECONFIG=$HOME/admin.conf" | tee -a ~/.bashrc
Then, source your profile or open a new terminal session:
source ~/.bashrc # or ~/.bash_profile, ~/.zshrc, etc.
Then run the following command to list all nodes in the cluster:
kubectl get nodes
You should see your master and worker nodes in the output.

Setting Up kubectl on Host
You may also want to interact with your Kubernetes cluster from your host machine, not just from within the VMs. To do this, you need to install kubectl on your host machine and set up the Kubernetes configuration.
First, install kubectl on your host machine. The installation process varies depending on your OS. You can find detailed instructions in the official Kubernetes documentation.
Once you've installed kubectl, you need to set up the Kubernetes configuration file.
When you initialized the master node, kubeadm created a configuration file at /etc/kubernetes/admin.conf. To use kubectl from your host machine, you need to copy this file to your home directory and set the KUBECONFIG environment variable.
First, copy the admin.conf file from the master node to your host machine. On your host machine, run:
mkdir -p $HOME/.kube
vagrant ssh master -c "sudo cat /etc/kubernetes/admin.conf" > $HOME/.kube/config.demo
This command creates a .kube directory in your home directory if it doesn't exist, then copies the admin.conf file to a file named config in this directory.
Next, set the KUBECONFIG environment variable. Add the following line to your shell profile file (.bashrc, .bash_profile, .zshrc, etc.):
echo "export KUBECONFIG=$HOME/.kube/config.demo" | tee -a ~/.bashrc
Then, source your shell profile file to apply the changes:
source ~/.bashrc # or ~/.bash_profile, ~/.zshrc, etc.
Now you should be able to use kubectl from your host machine to interact with your Kubernetes cluster. Run kubectl get nodes to verify:
kubectl get nodes
You should see the same output as before, showing all three nodes in your cluster.
Conclusion
Now you have a simple Kubernetes cluster running on your local machine and you can interact with it directly from your host machine using kubectl. This setup is perfect for learning Kubernetes, testing new ideas, or developing applications. While it's not recommended for production use, it should give you a good starting point for exploring Kubernetes.
- Kubernetes
- Infrastructure