Pavel Rykov
July 31, 2023 ・ Kubernetes
Installing Ceph as a Distributed Storage Solution and Connecting it to Kubernetes
In this guide, we'll walk you through the process of setting up a Ceph cluster and integrating it with a Kubernetes cluster. Ceph is a scalable and resilient distributed storage system that can handle large amounts of data. It's a perfect fit for Kubernetes, which can leverage Ceph's capabilities for storage-intensive applications.
Creating Virtual Machines with Vagrant and VirtualBox
To familiarize yourself with Ceph, you may opt to create a local cluster of virtual machines (VMs) using Vagrant and VirtualBox. This approach provides a controlled environment for learning and experimentation, without the need for dedicated hardware.
First, generate the SSH key pair on your host machine:
mkdir .vagrant
ssh-keygen -t rsa -N '' -f .vagrant/vagrant_rsa
This will generate the private key ./keys/vagrant_rsa and the public key ./keys/vagrant_rsa.pub.
Next create and Vagrantfile****, here is a sample Vagrantfile to get you started:
Vagrant.configure("2") do |config|
  config.vm.box = "ubuntu/bionic64"

  nodes = {
    "ceph1" => "192.168.60.11",
    "ceph2" => "192.168.60.12"
  }

  config.vm.provider "virtualbox" do |v|
    v.memory = 2048
    v.cpus = 2
  end

  nodes.each do |nodeName, ip|
    config.vm.define nodeName do |node|
      node.vm.hostname = nodeName
      node.vm.network "private_network", ip: ip

      # Copy public and private keys to the VM
      node.vm.provision "file", source: ".vagrant/vagrant_rsa.pub", destination: "~/.ssh/id_rsa.pub.extra"
      node.vm.provision "file", source: ".vagrant/vagrant_rsa", destination: "~/.ssh/id_rsa"

      node.vm.provision "shell", inline: <<-SHELL
        chmod 700 /home/vagrant/.ssh
        chown vagrant:vagrant /home/vagrant/.ssh
        cat /home/vagrant/.ssh/id_rsa.pub.extra >> /home/vagrant/.ssh/authorized_keys
        chmod 600 /home/vagrant/.ssh/authorized_keys
        chmod 600 /home/vagrant/.ssh/id_rsa
        chown vagrant:vagrant /home/vagrant/.ssh/authorized_keys
        chown vagrant:vagrant /home/vagrant/.ssh/id_rsa
      SHELL

      # Update /etc/hosts file for each node
      nodes.each do |otherNodeName, otherNodeIp|
        node.vm.provision "shell", inline: <<-SHELL
          echo "#{otherNodeIp} #{otherNodeName}" | sudo tee -a /etc/hosts
        SHELL
      end

    end
  end
end
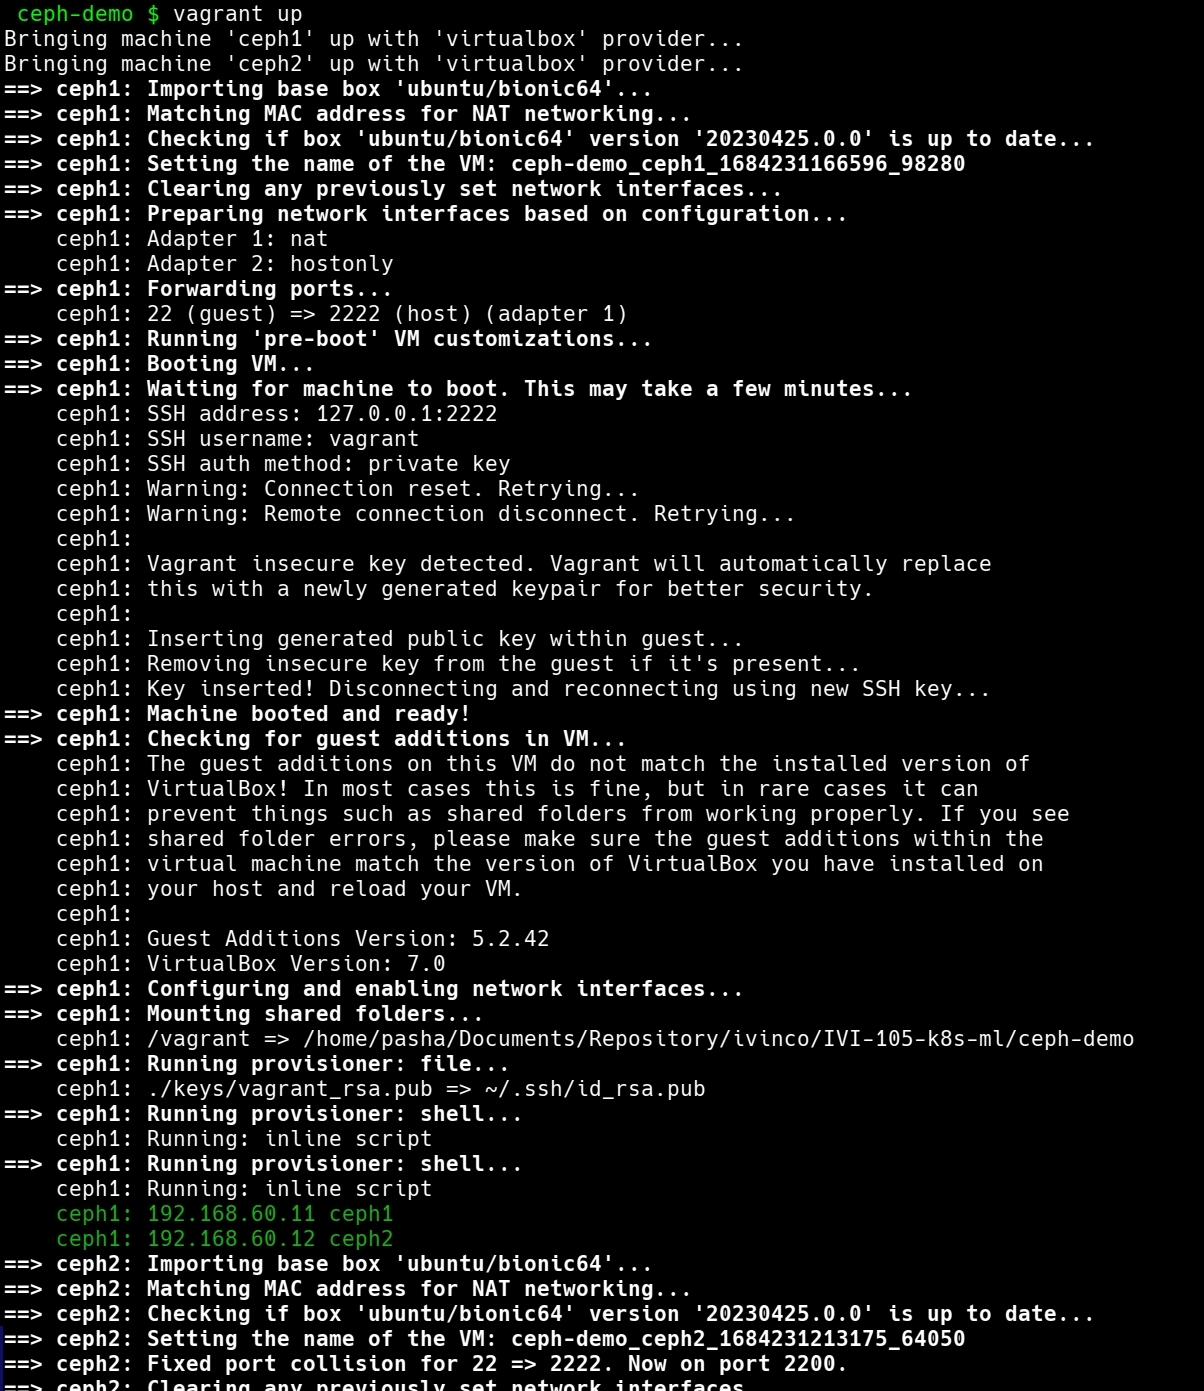
This Vagrantfile will create two VMs, which will be used to run Ceph. You can start the VMs by running vagrant up in the terminal.

Remember, this setup is intended for testing and learning purposes. It creates a controlled environment that is ideal for understanding how to install and use Ceph. However, if you're planning to deploy Ceph in a production environment, you'll likely be working with physical servers instead of virtual machines. The steps to install and configure Ceph would remain largely the same, but you can skip the virtual machine setup part.
In a real-world scenario, you would also likely have more nodes in your Ceph cluster for redundancy and capacity. Moreover, you'd need to consider factors such as network configuration, security, and data recovery, which are beyond the scope of this introductory guide.
Installing Ceph
After you've created your VMs, the next step is to install Ceph on them. Here is a step-by-step process on how to do this:
SSH into each VM
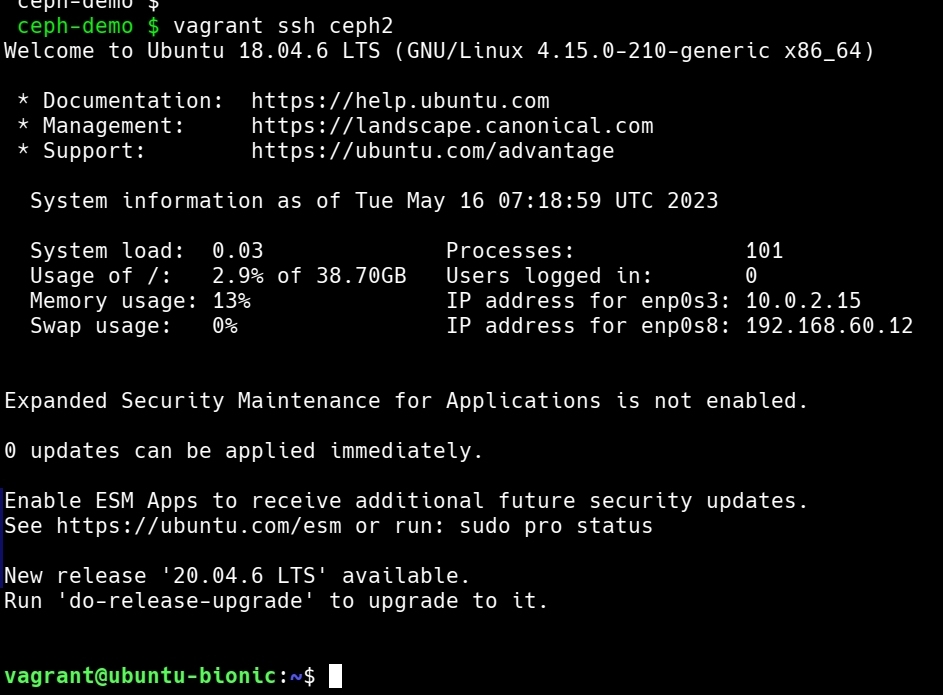
You can SSH into each VM using the vagrant ssh command:
vagrant ssh ceph1
vagrant ssh ceph2

Update the System
Before you install Ceph, it's a good practice to update your system's package repository:
sudo apt-get update
sudo apt-get upgrade -y
Install Ceph
Install the Ceph deployment tool, ceph-deploy, and other necessary packages on both nodes:
sudo apt-get install ceph-deploy ceph ceph-common
Create a Ceph Cluster
You'll create a new Ceph cluster on the first node. Before you do this, create a new directory for the cluster configuration:
mkdir ~/ceph-cluster
cd ~/ceph-cluster
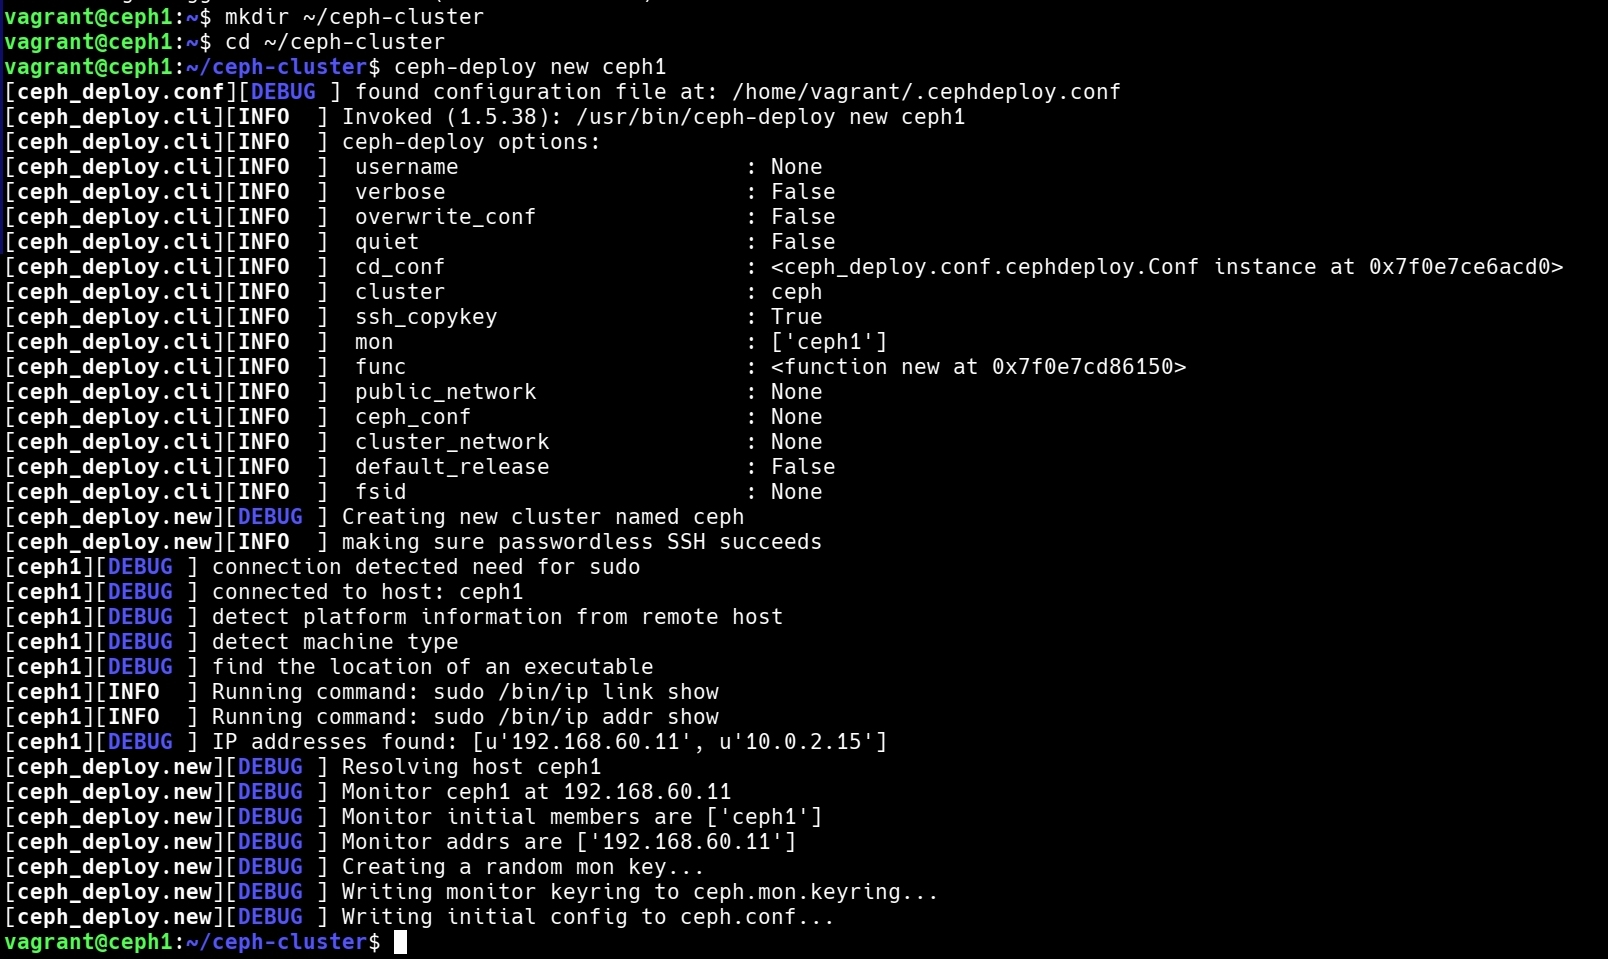
Then, use ceph-deploy to create a new cluster:
ceph-deploy new ceph1

This command will create a configuration file called ceph.conf in the current directory.
Modify the Ceph Configuration File
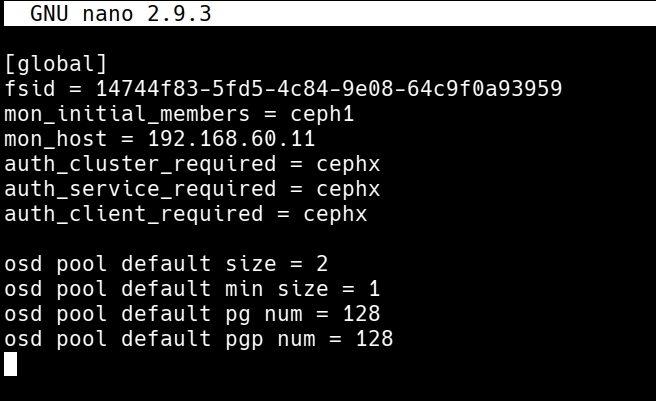
Open the ceph.conf file with a text editor like nano and add the following lines under the [global] section:
osd pool default size = 2
osd pool default min size = 1
osd pool default pg num = 128
osd pool default pgp num = 128

These lines configure the storage settings for the Ceph cluster.
- Install Ceph on All Nodes:
Now you'll install Ceph on all nodes. Run the following command:
ceph-deploy install ceph1 ceph2

- Create the Initial Monitor(s) and Gather Keys:
Run the following command to create the initial monitors and gather the keys:
ceph-deploy mon create-initial
- Add the OSDs:
Finally, you'll add the OSDs (Object Storage Daemons). The OSDs handle the data store, data replication, and recovery. You'll need to specify the disk that Ceph can use to store data. If you're using a VM, you can use a directory as a disk. Here's how you can do it:
sudo mkdir /var/local/osd0
ceph-deploy osd create ceph1:/var/local/osd0
Repeat the process for the second node (need to execute on first node):
sudo mkdir /var/local/osd1
ceph-deploy osd create ceph2:/var/local/osd1
This completes the installation of the Ceph cluster on your VMs. Now, you can move on to integrating Ceph with Kubernetes.
Integrating Ceph with Kubernetes
Once your Ceph cluster is set up, you can integrate it with your Kubernetes cluster.
First, you'll need to install the ceph-csi-cephfs driver in your Kubernetes cluster. This driver allows Kubernetes to interact with Ceph. You can install it with the following command:
kubectl apply -f https://github.com/ceph/ceph-csi/raw/devel/deploy/cephfs/kubernetes/csi-cephfsplugin-provisioner.yaml
Next, you'll need to create a Secret in your Kubernetes cluster that contains your Ceph admin user's key:
kubectl create secret ceph-secret --type="kubernetes.io/rbd" --from-literal=key='AQD9o0Fd6hQRChAAt7fMaSZXduT3NWEqylNpmg==' --namespace=default
Replace 'AQD9o0Fd6hQRChAAt7fMaSZXduT3NWEqylNpmg==' with your Ceph admin user's key.
Finally, you'll need to create a StorageClass in Kubernetes that references your Ceph cluster:
apiVersion: storage.k8s.io/v1
kind: StorageClass
metadata:
  name: cephfs
provisioner: ceph.com/ceph
parameters:
  monitors: 192.168.60.10:6789,192.168.60.11:6789  # replace with your Ceph monitors
  adminId: admin
  adminSecretName: ceph-secret
  adminSecretNamespace: "default"
Replace 192.168.60.10:6789,192.168.60.11:6789 with the addresses of your Ceph monitors.
Then, apply this StorageClass with the command:
kubectl apply -f ceph-storageclass.yaml
This will create a new StorageClass named 'cephfs' that your Kubernetes cluster can use to dynamically provision Persistent Volumes (PVs) that use your Ceph storage.
With this setup, you're now ready to create Persistent Volume Claims (PVCs) against the Ceph StorageClass, allowing you to utilize the power and resilience of Ceph storage for your Kubernetes applications. Here is a sample PVC:
apiVersion: v1
kind: PersistentVolumeClaim
metadata:
  name: ceph-pvc
spec:
  accessModes:
  - ReadWriteOnce
  resources:
    requests:
      storage: 1Gi
  storageClassName: cephfs
This PVC requests a PV of 1Gi from the 'cephfs' StorageClass, which would be dynamically provisioned by Ceph. Any Pods that use this PVC would have access to the provisioned storage.
This guide provided a brief overview of setting up a Ceph cluster and integrating it with Kubernetes. Keep in mind that in a real-world scenario, you would likely have multiple Ceph nodes for redundancy, and you might also want to consider additional security measures. Always refer to the official Ceph and Kubernetes documentation for the most detailed and up-to-date information.
Conclusion
Distributed storage systems like Ceph play a crucial role in managing and scaling storage needs in a distributed environment. It can be particularly useful when working with Kubernetes, which is designed to automate deploying, scaling, and operating application containers.
In this guide, we walked through the process of setting up a Ceph cluster on multiple virtual machines using Vagrant and VirtualBox. We then looked at how to integrate this setup with a Kubernetes cluster, enabling Kubernetes to leverage Ceph's robust and resilient storage capabilities. With Ceph now installed and connected to Kubernetes, you're well on your way to deploying applications that require distributed storage. But remember, this guide is a basic setup meant for learning and experimenting. A production setup might require more nodes, additional security measures, and more complex configurations.
Continually learning and improving your understanding of these technologies is key to effectively managing and maintaining modern distributed systems. Always refer to the official Ceph and Kubernetes documentation for the most detailed and up-to-date information.
Happy experimenting with your new distributed storage setup!
- Kubernetes
- Infrastructure